
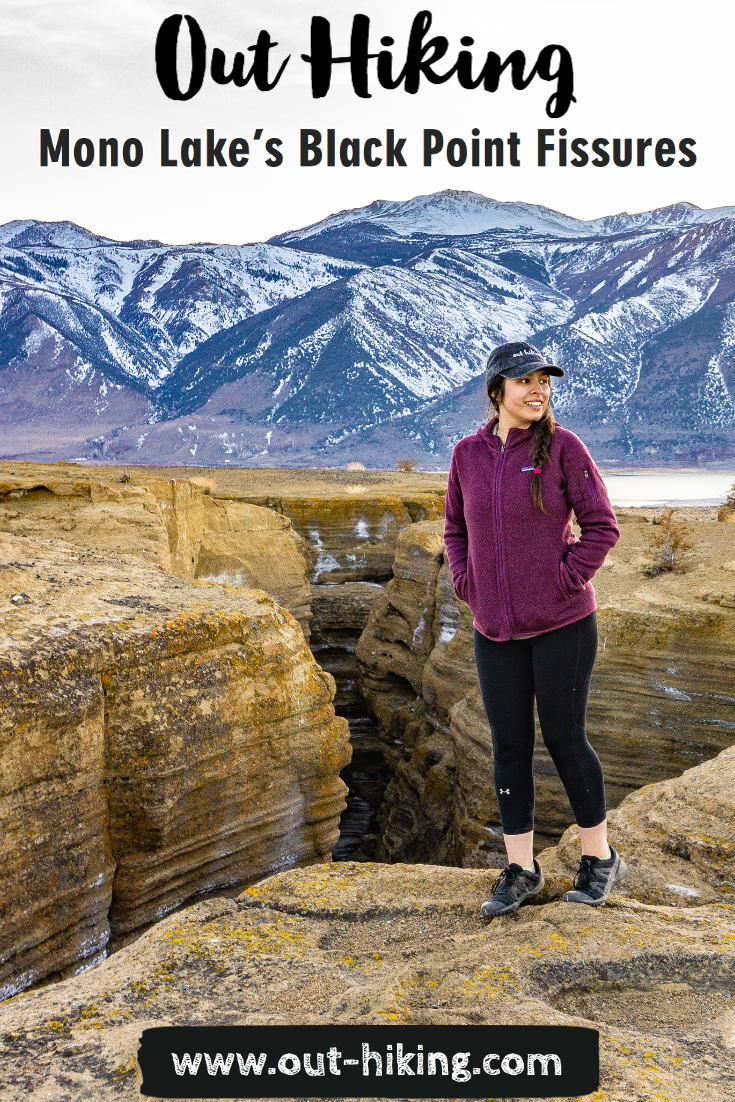
Hiking to Mono Lake's Black Point Fissures (Lee Vining, CA) - Trip Report
Almost everyone has seen Mono Lake with the classic view of the distinctive tufas from the south side. But the north side of Mono Lake has it’s very own uniqueness to it as well. It is estimated that about 13,000 years ago, a volcano erupted far below Mono Lake and caused the top to split up. This is how the cracks or fissures were formed, all made of layers of tufa, ash, and sediment. If you want to see these fissures, you will need to hike to the Black Point Fissures. Along the way, you’ll get to see Mono Lake from a completely new prespective.
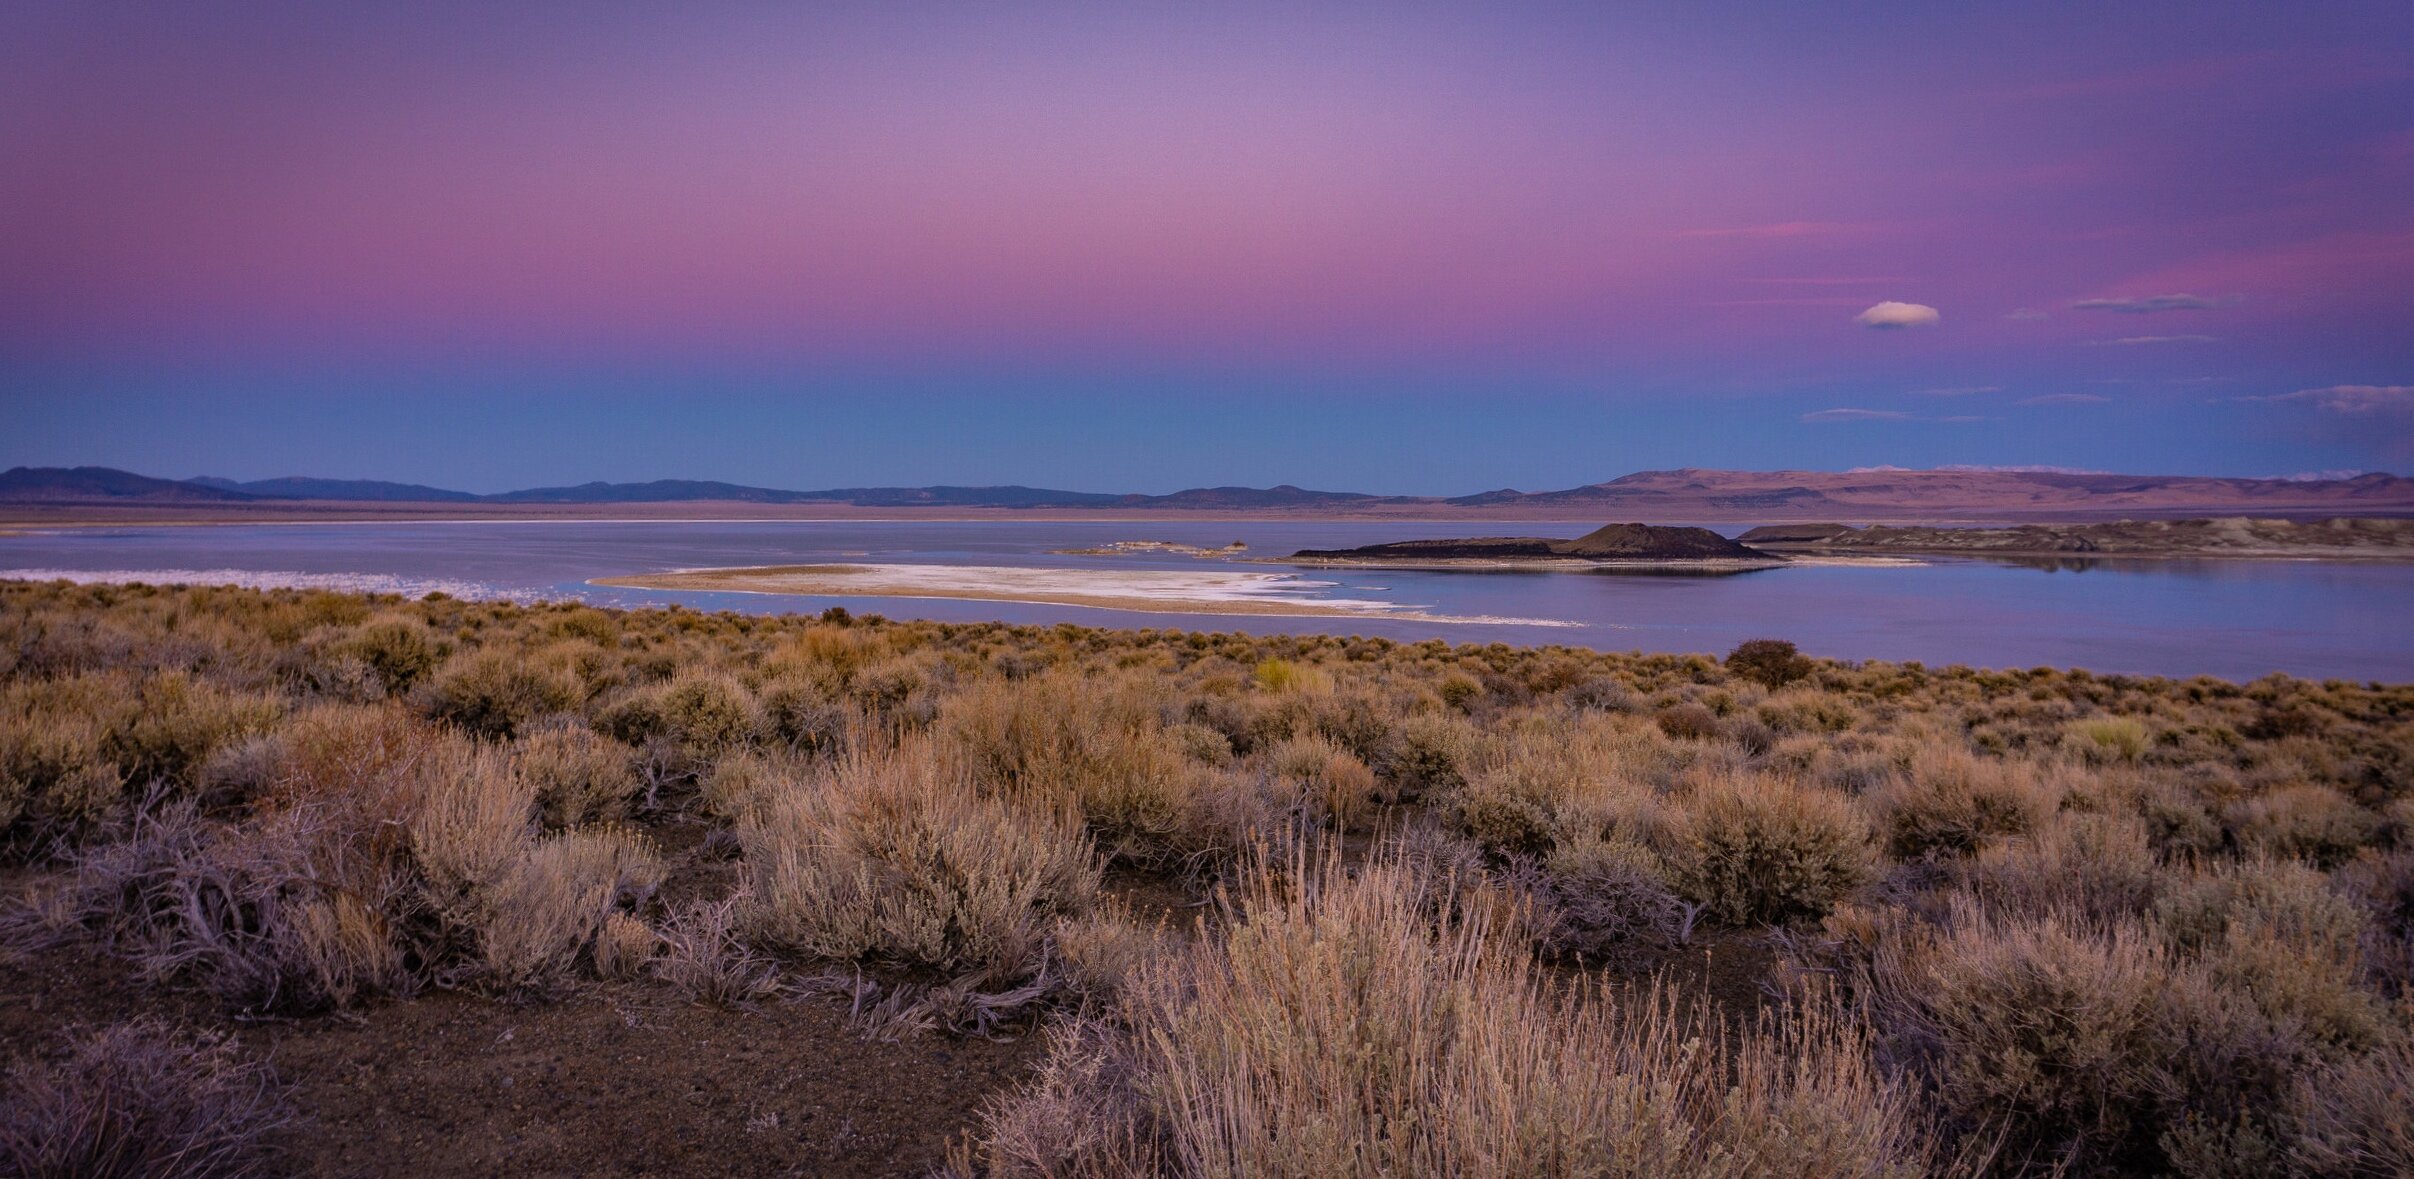
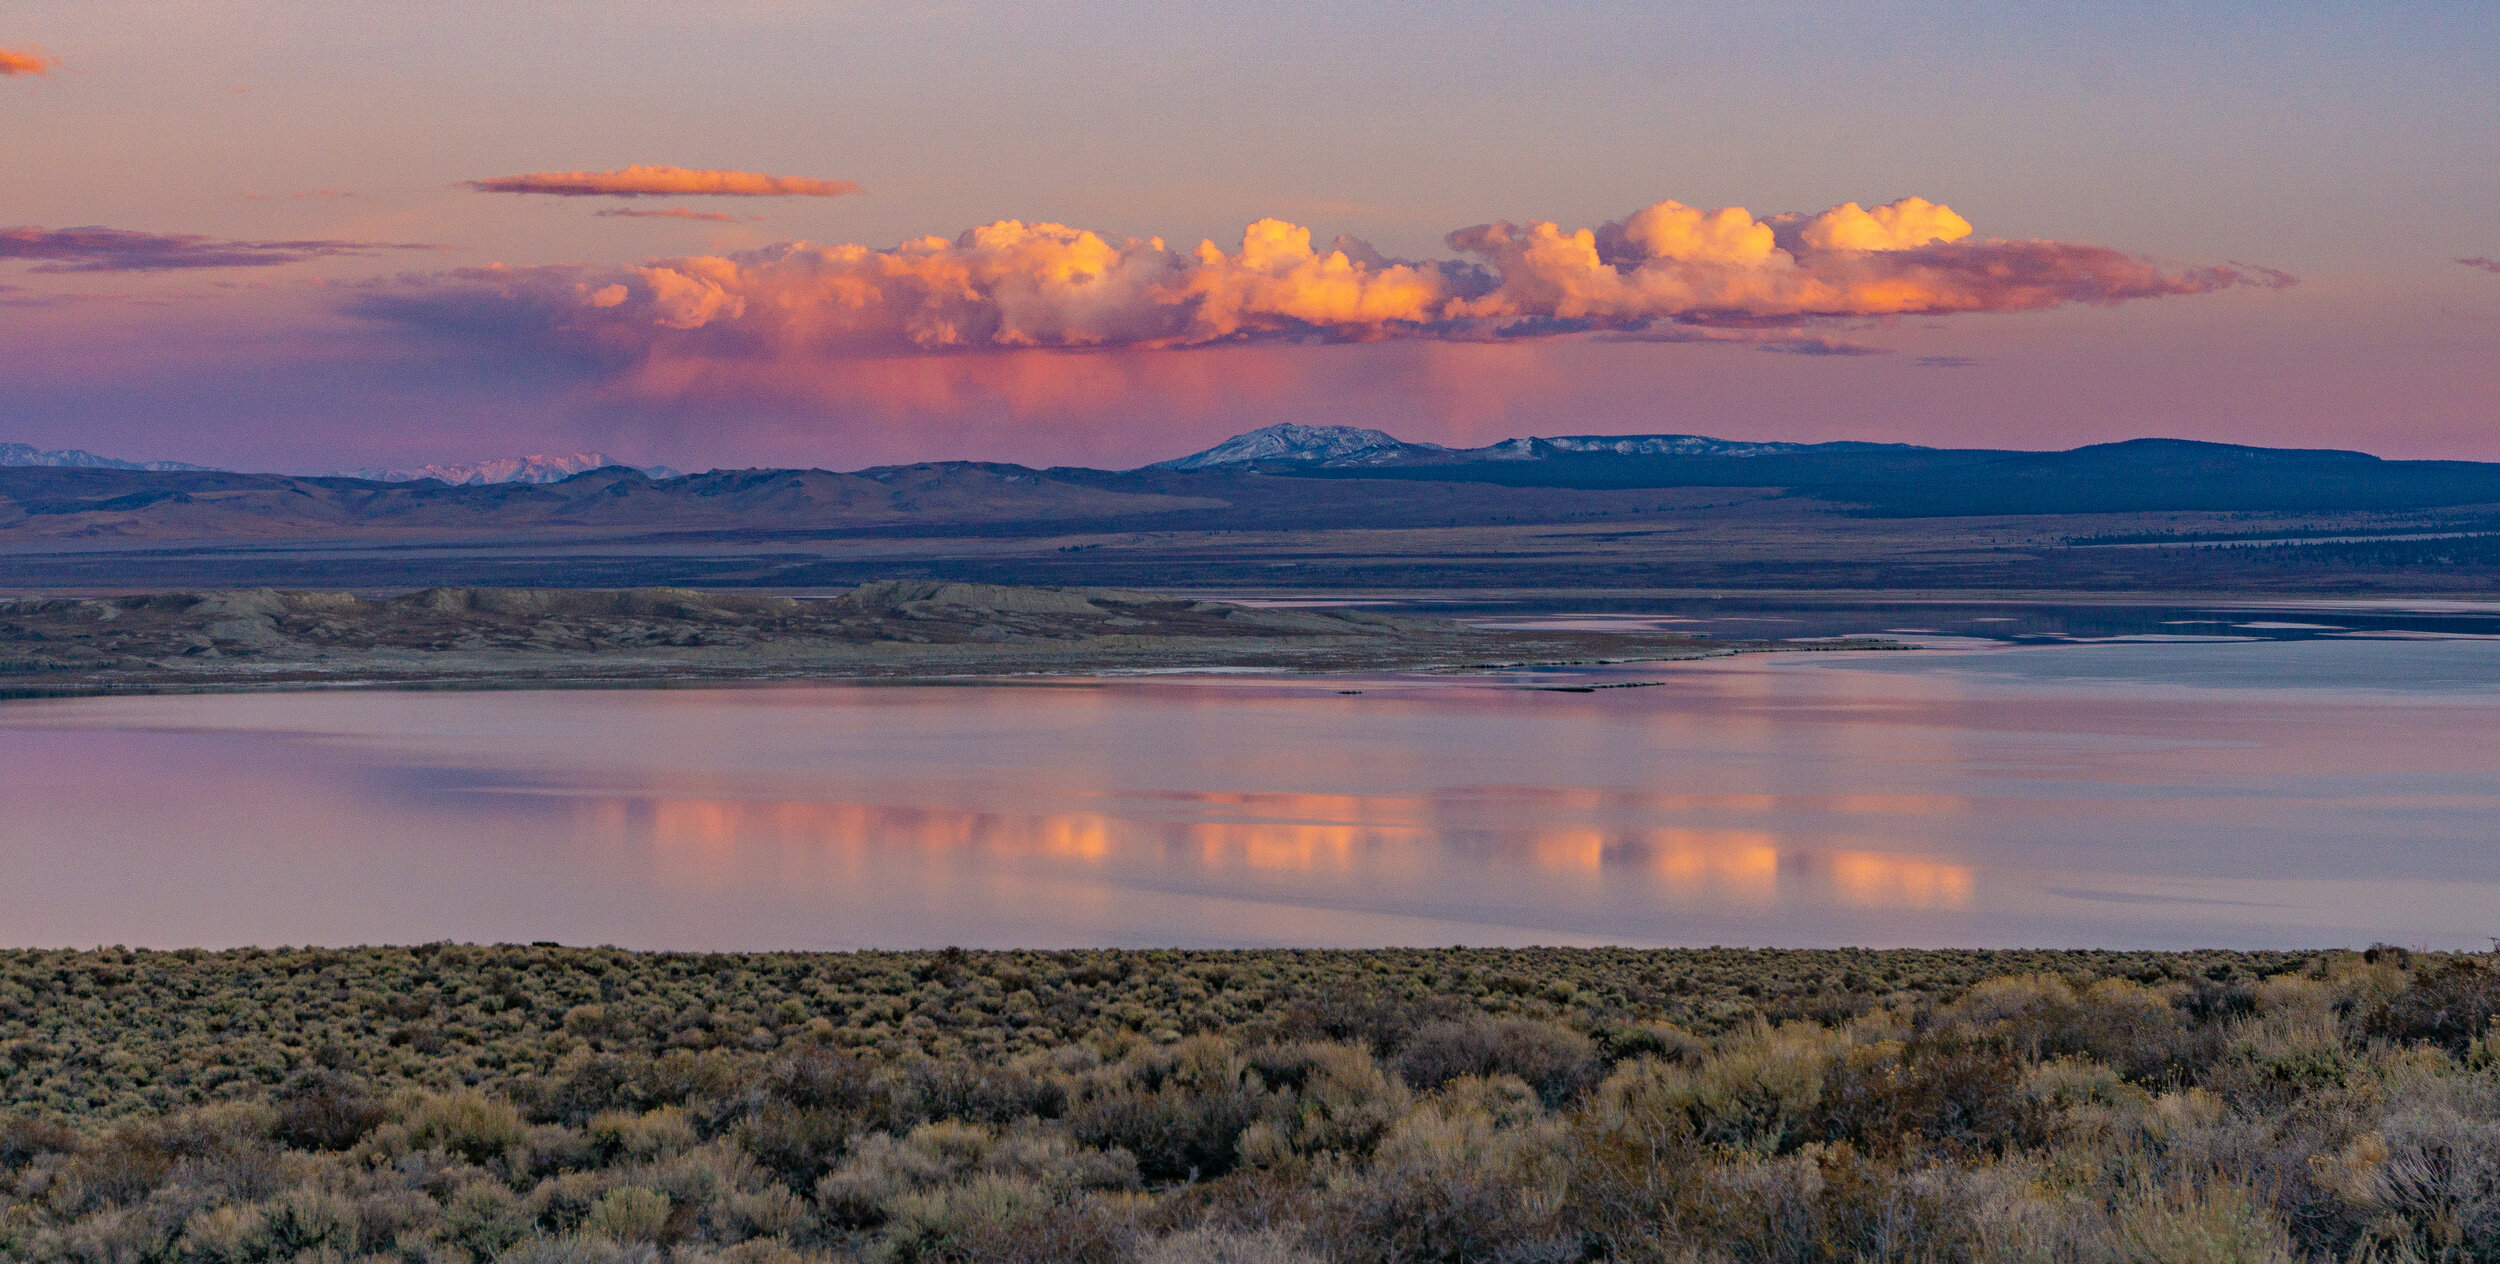
Heading back down to the parking lot during the sunset over Mono Lake
Hiking Information
Location: Mono County - near Lee Vining, California
Trailhead & Parking: Google Maps
Date Hiked: March 4, 2020
Trail Type: Out & Back
Elevation Change: 477 ft
Distance Roundtrip: 2.5 miles (could be more, depending how much you venture around the fissures)
Restrooms: None at the trailhead, the next closest would be at the County Park
Fees: None
Season Accessibility: All year round
Trail Tip: Going in the winter or spring will help avoid the crowds that visit the Eastern Sierra.
The Drive/Parking
Be sure to have your navigation set to the Black Point parking lot so you don’t get lost on the dirt roads. The parking lot has room for about 6 cars, but of the two times I’ve been at the trailhead, I’ve always been the only car there. That being said, this trail is a bit off of the beaten path and not very well known, so you may not see anyone up there.
The Hike
This trail is less of a trail and more of an adventure, because there aren’t any markings on the way up. Essentially, it’s a ‘make your own trail’ in a way, but still practice good trail ethnics by avoiding any vegetation or places that are home to little creatures. You’ll know you’re heading in the right direction as long as you continue up the hillside. Allow for about 3 hours to allow time for you to explore all the fissures, while this isn’t a long hike, the loose (sand-like) sediment will slow you down on the way up.
Negit Island from the trail

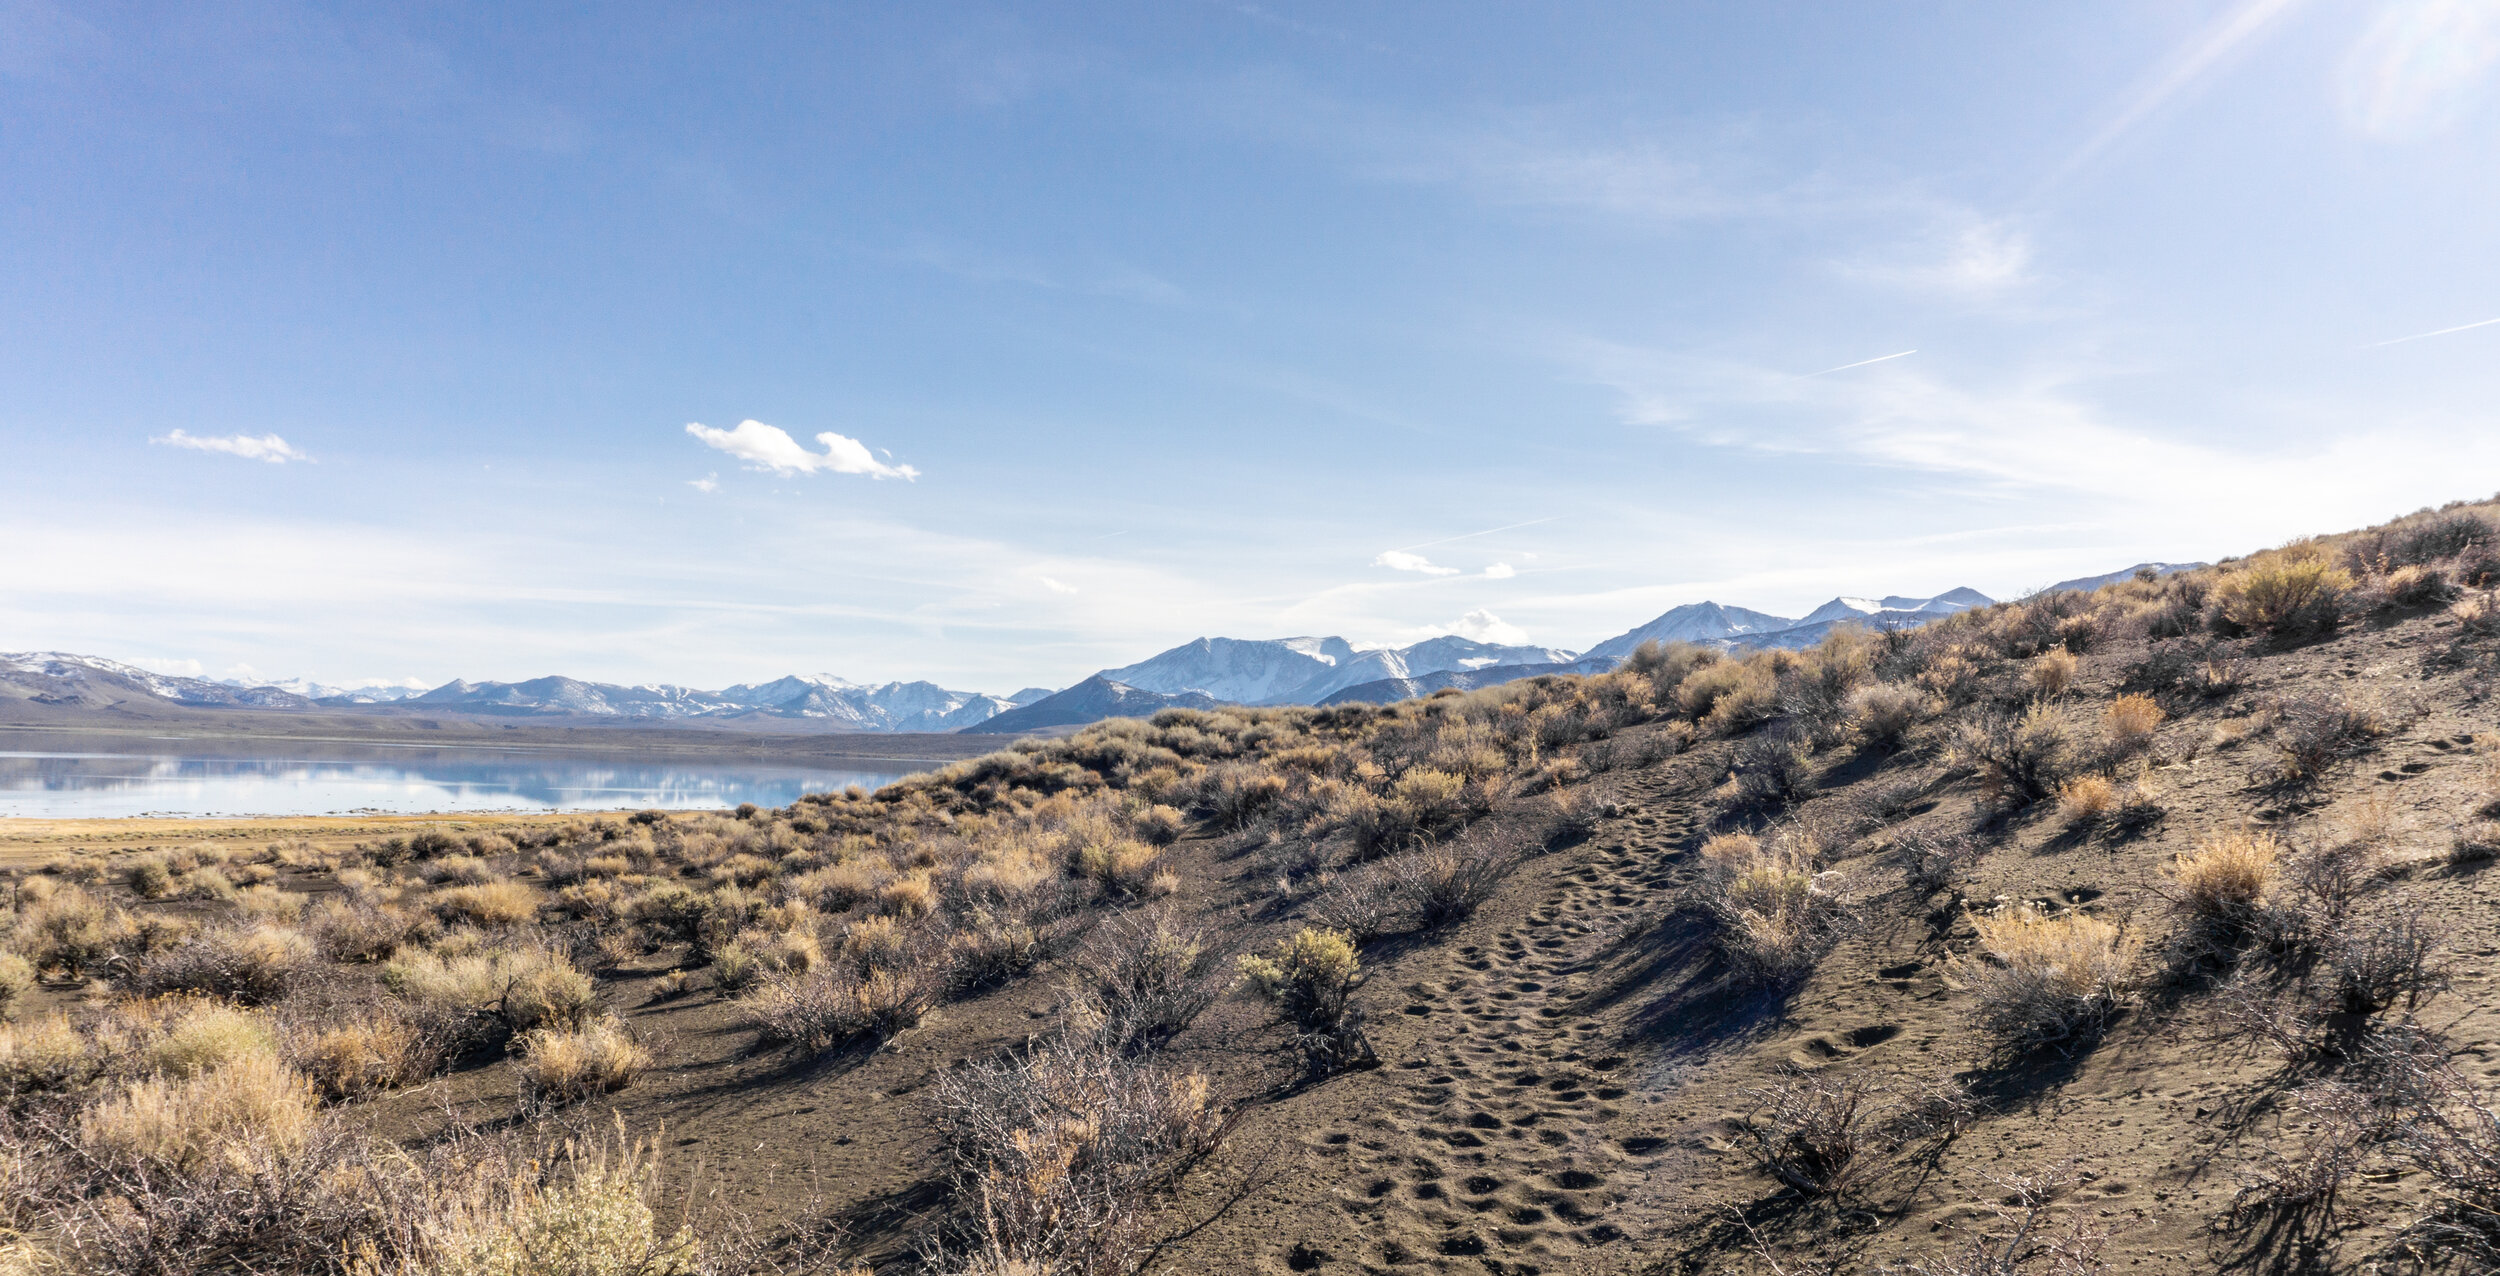
Looking out towards the US395 and June Mountain
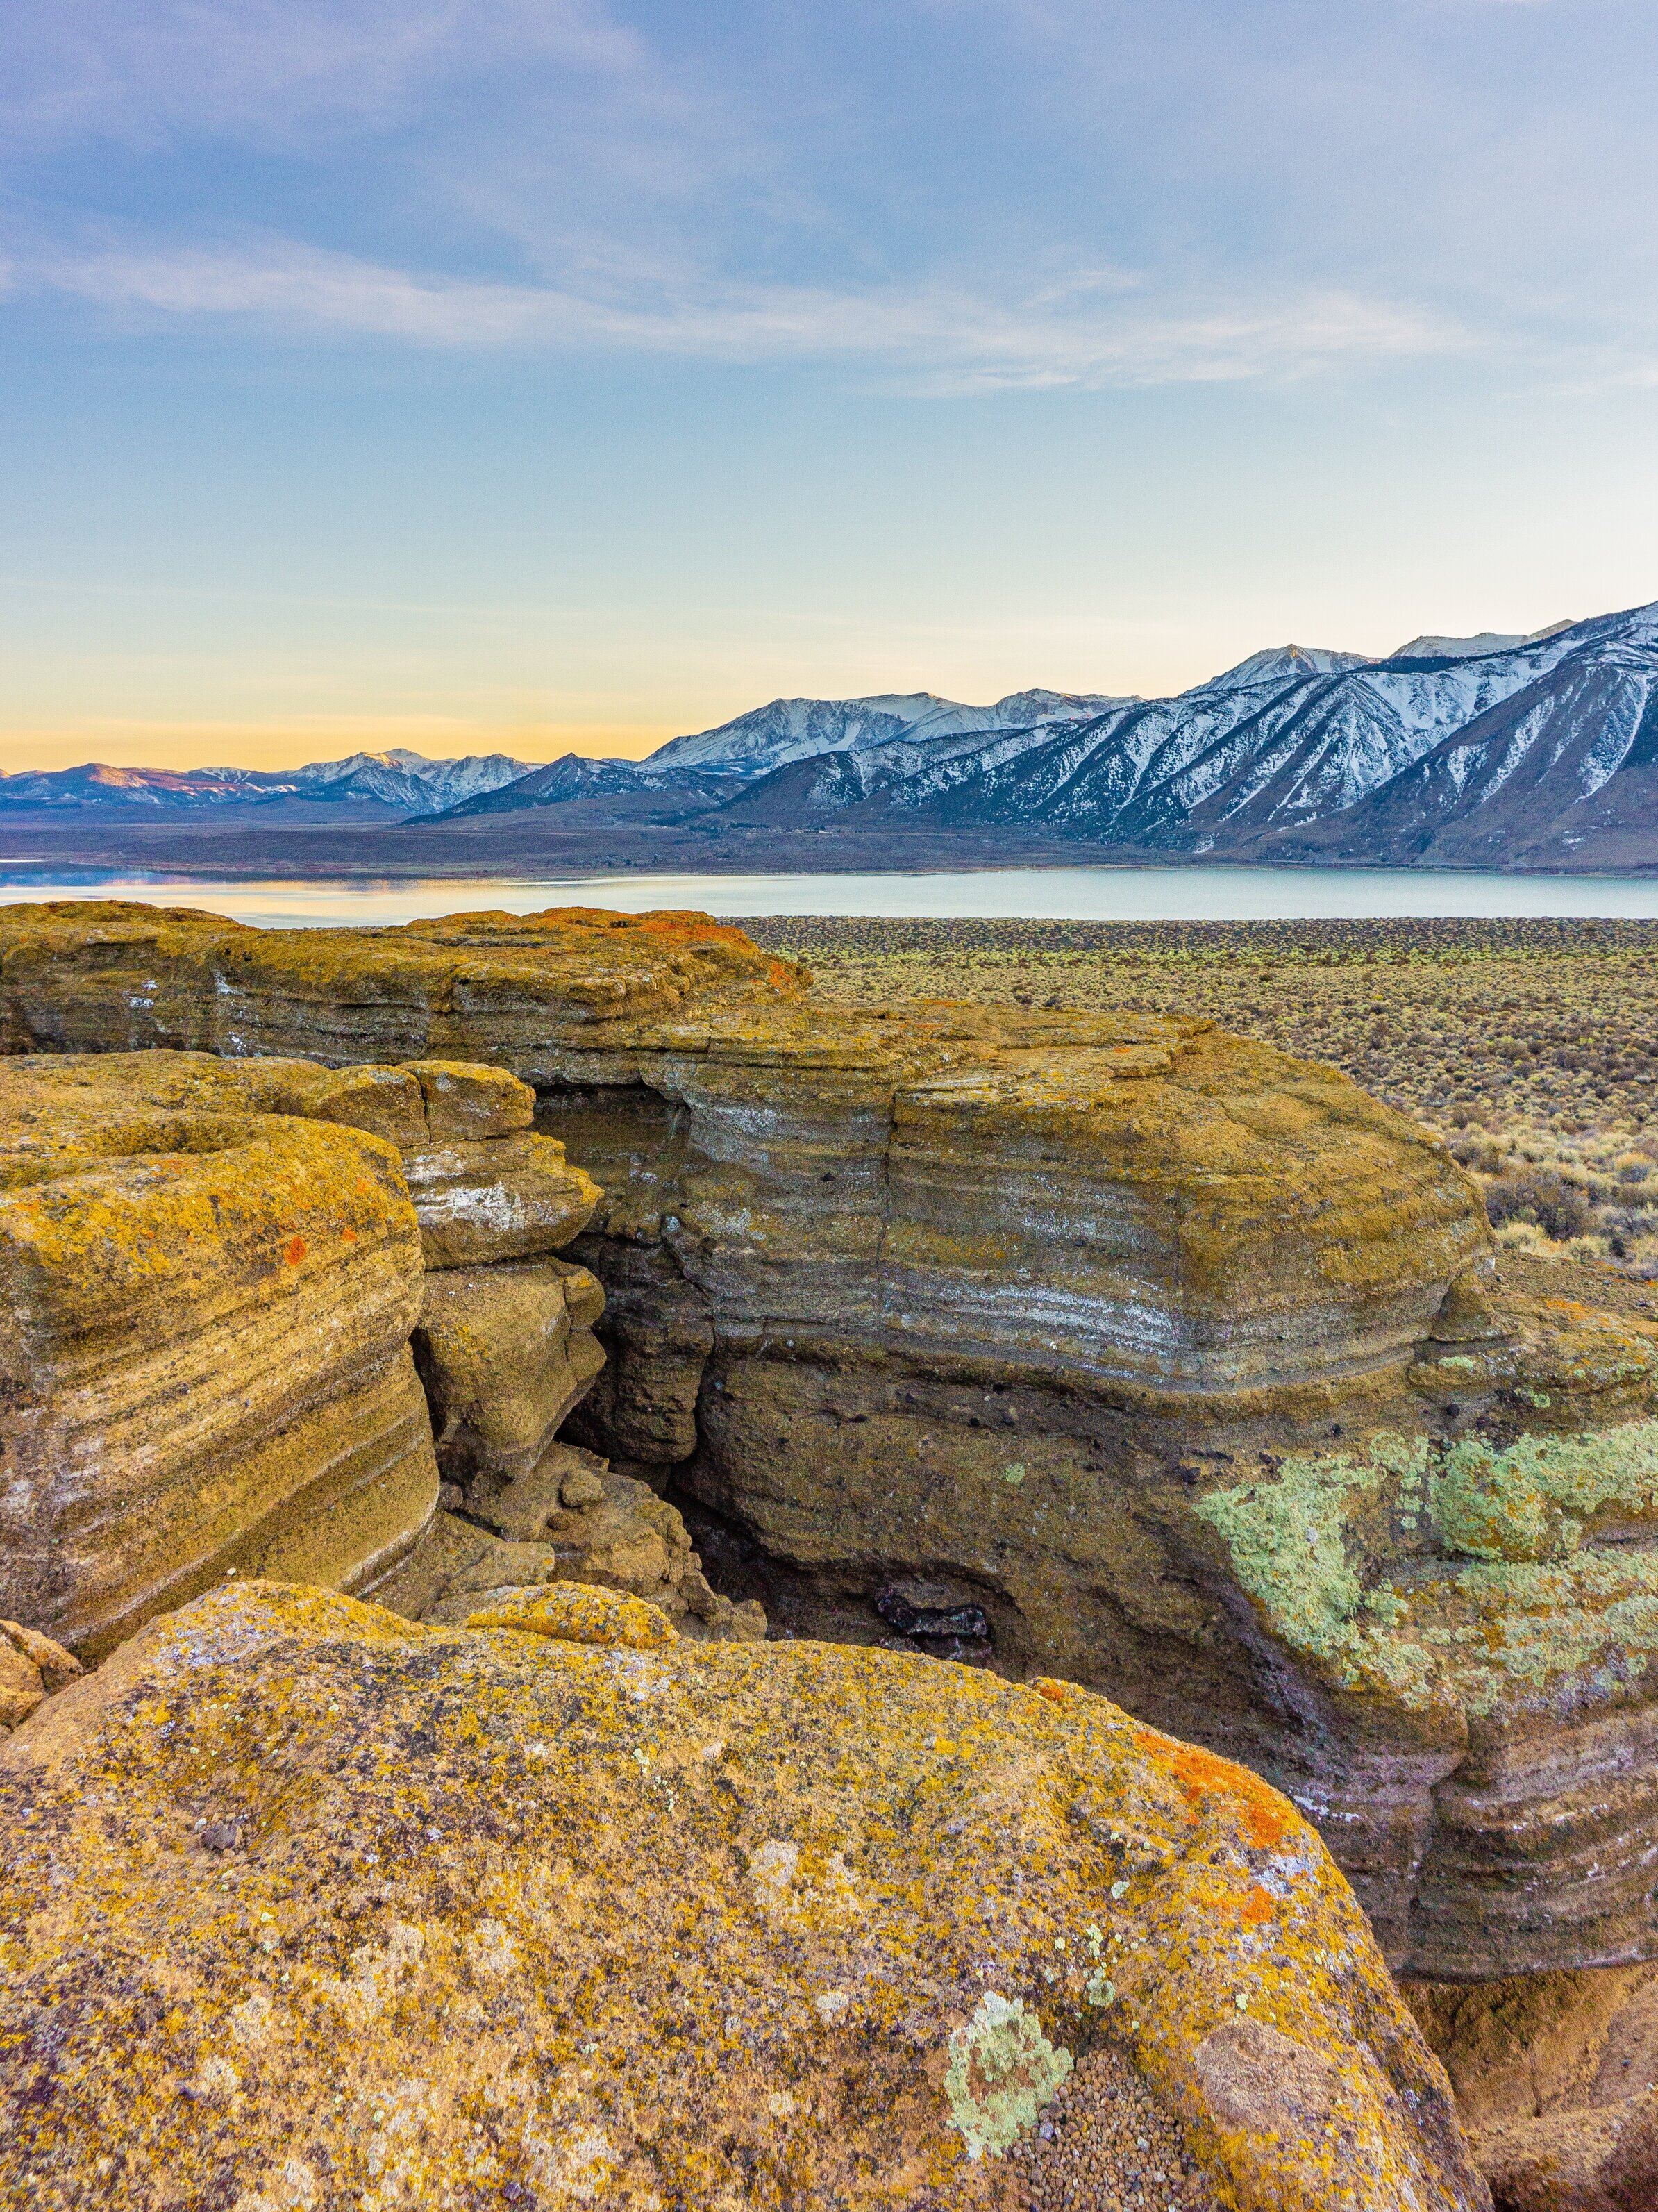
You’ll want to turn back and look at the lake from above here and again, it’s quite the view. You get a clear view of Negit and Paoho Island along the way!
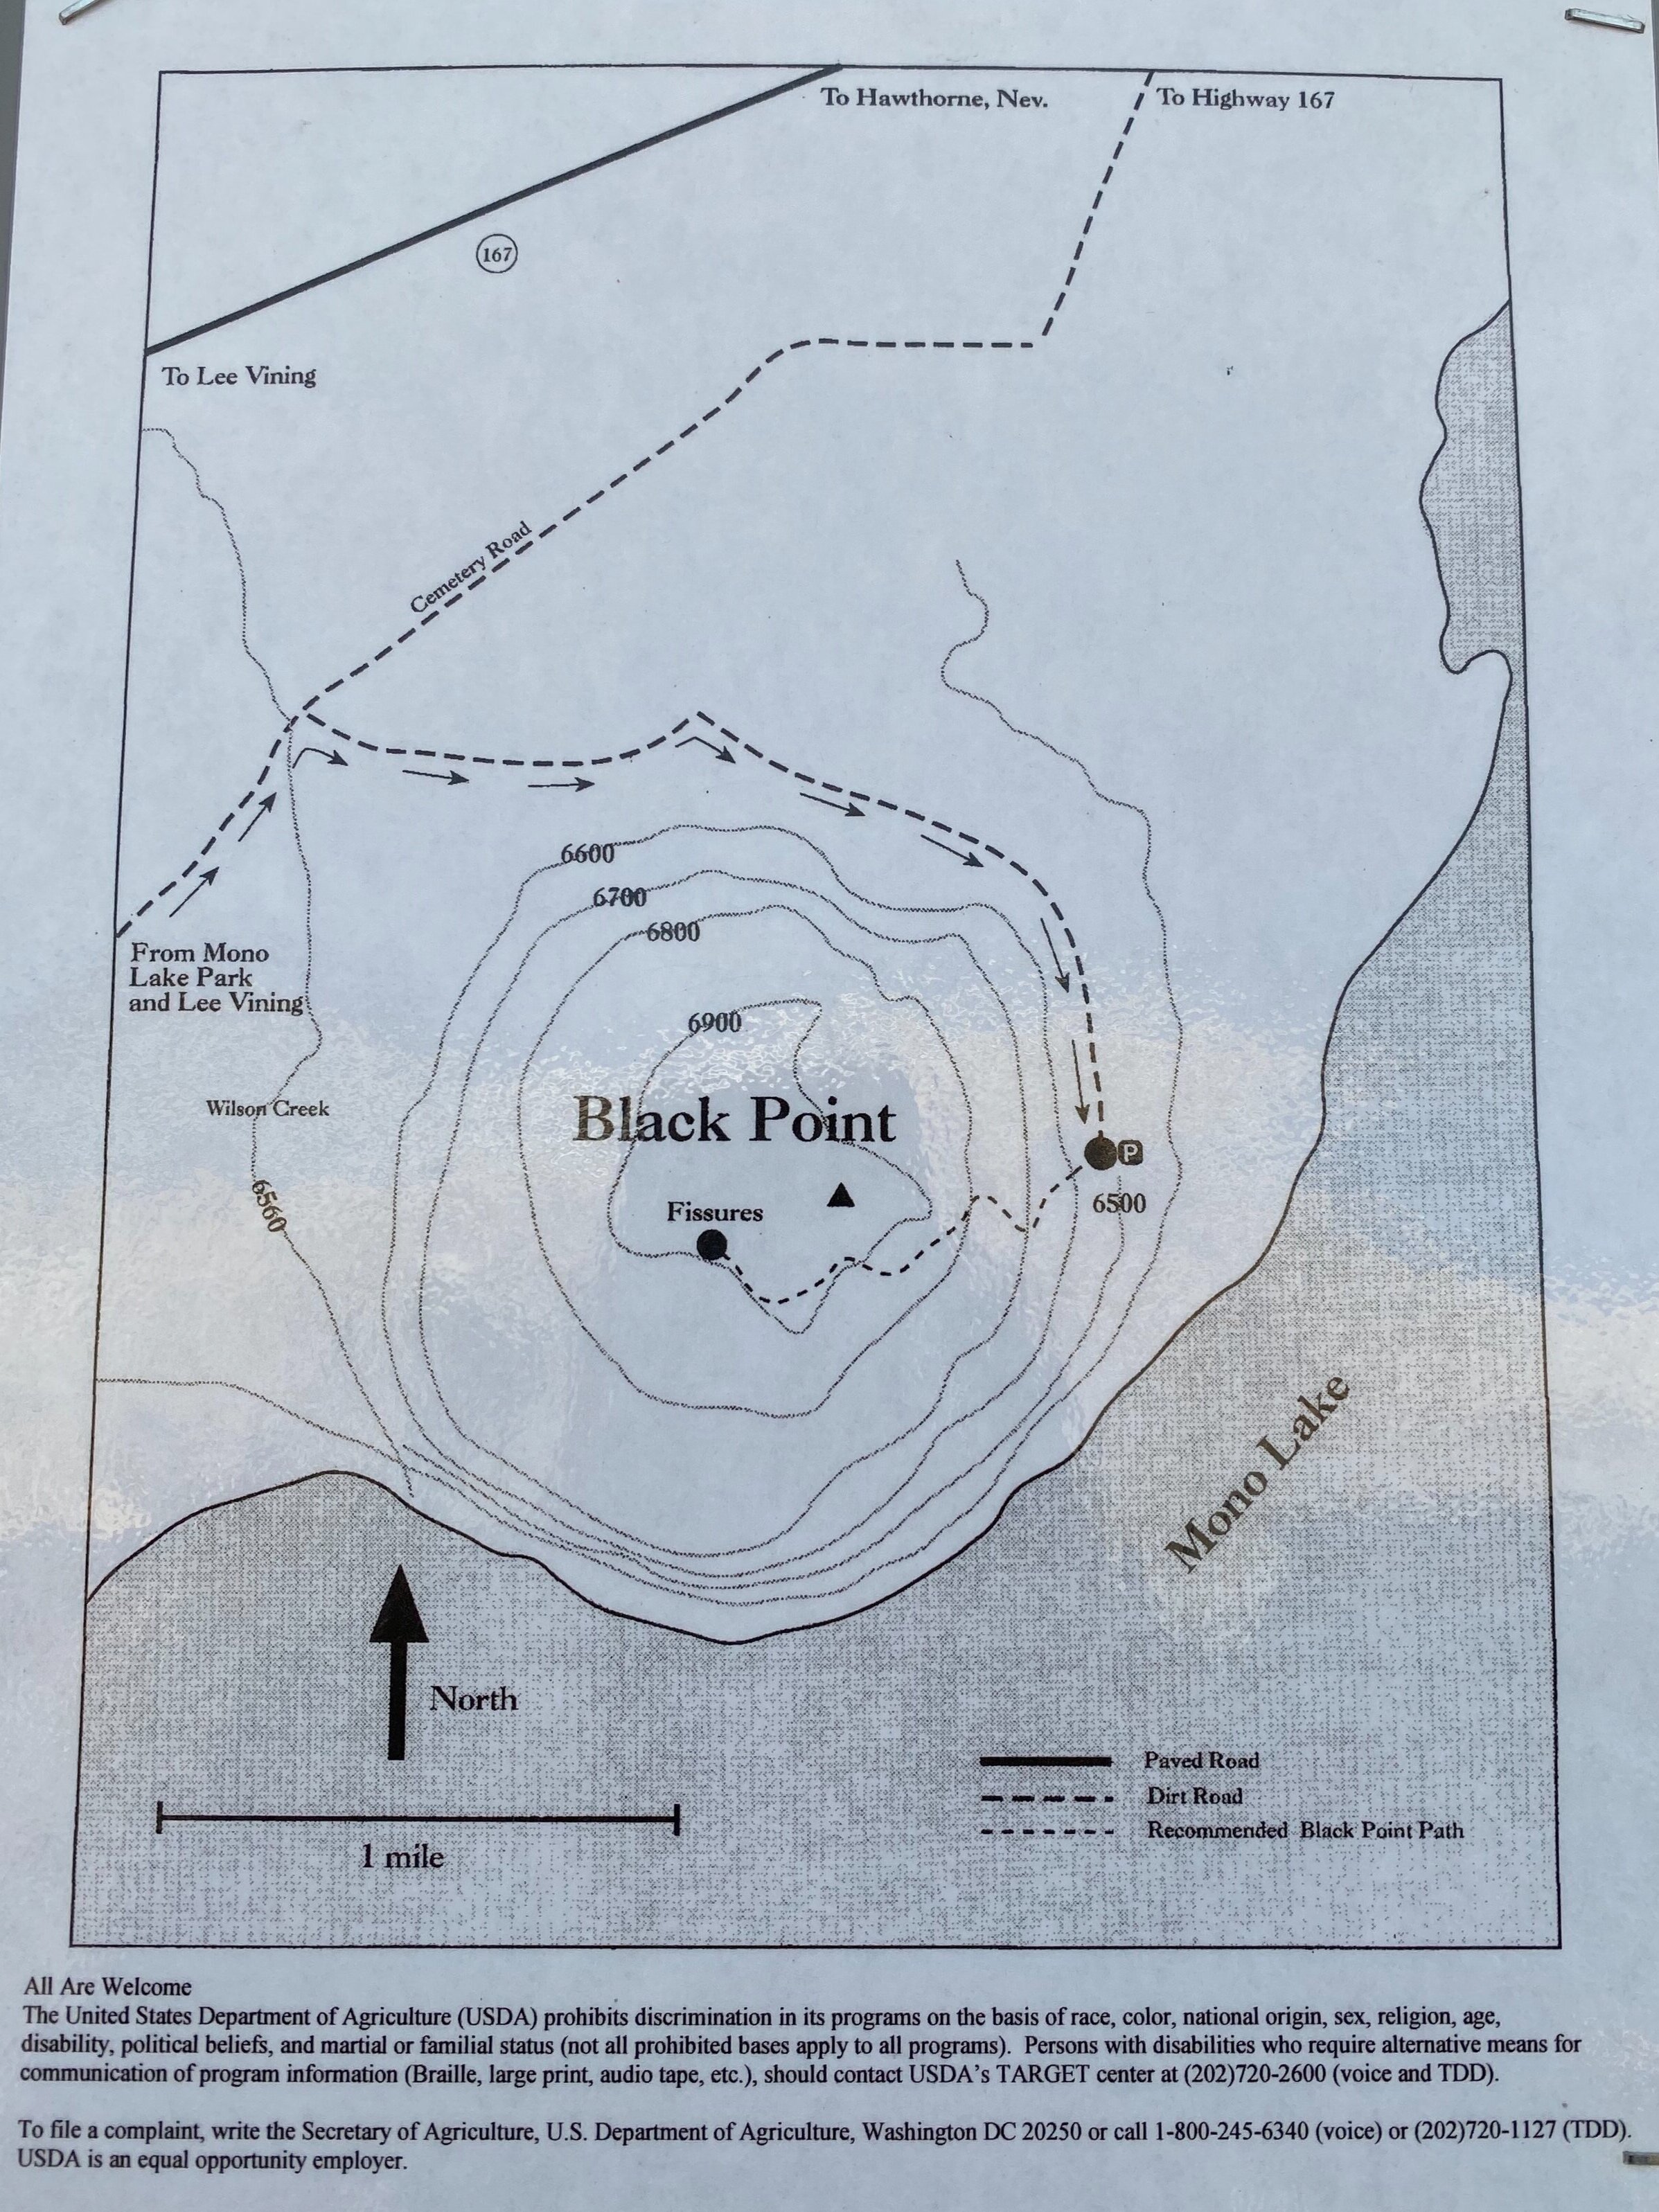
Map of the trail posted at the trailhead

Views when reaching the top of the hillside
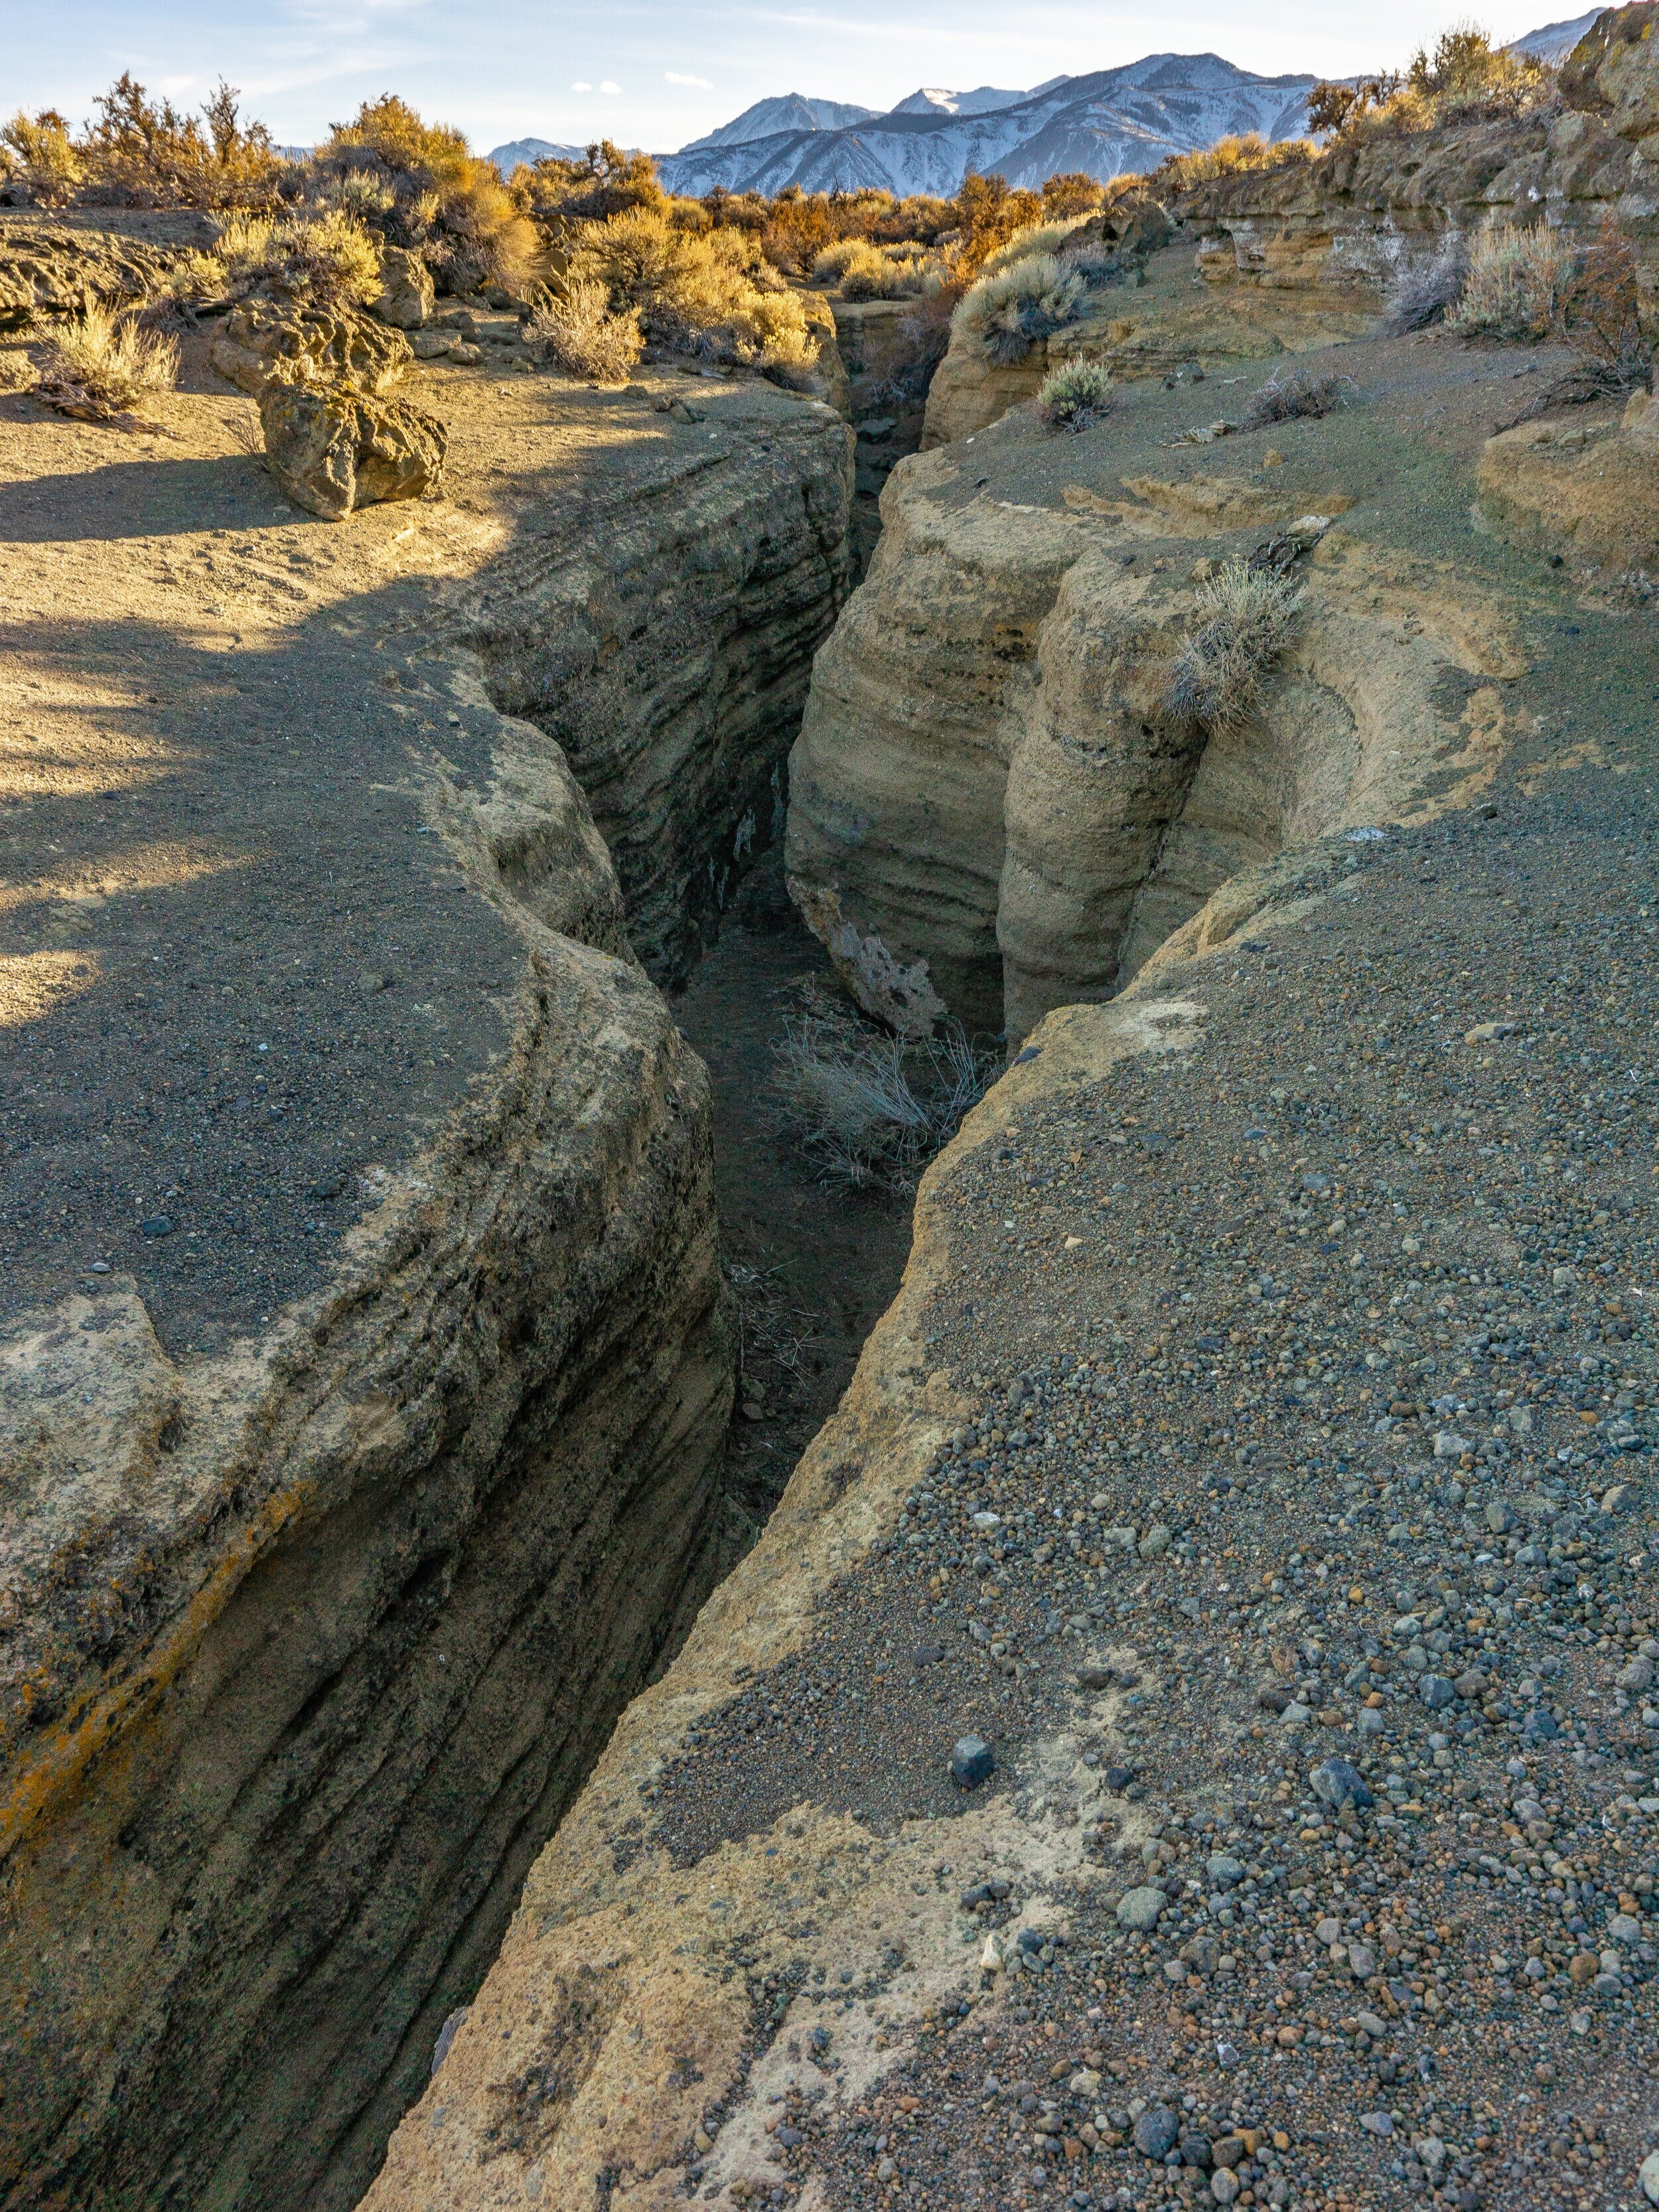
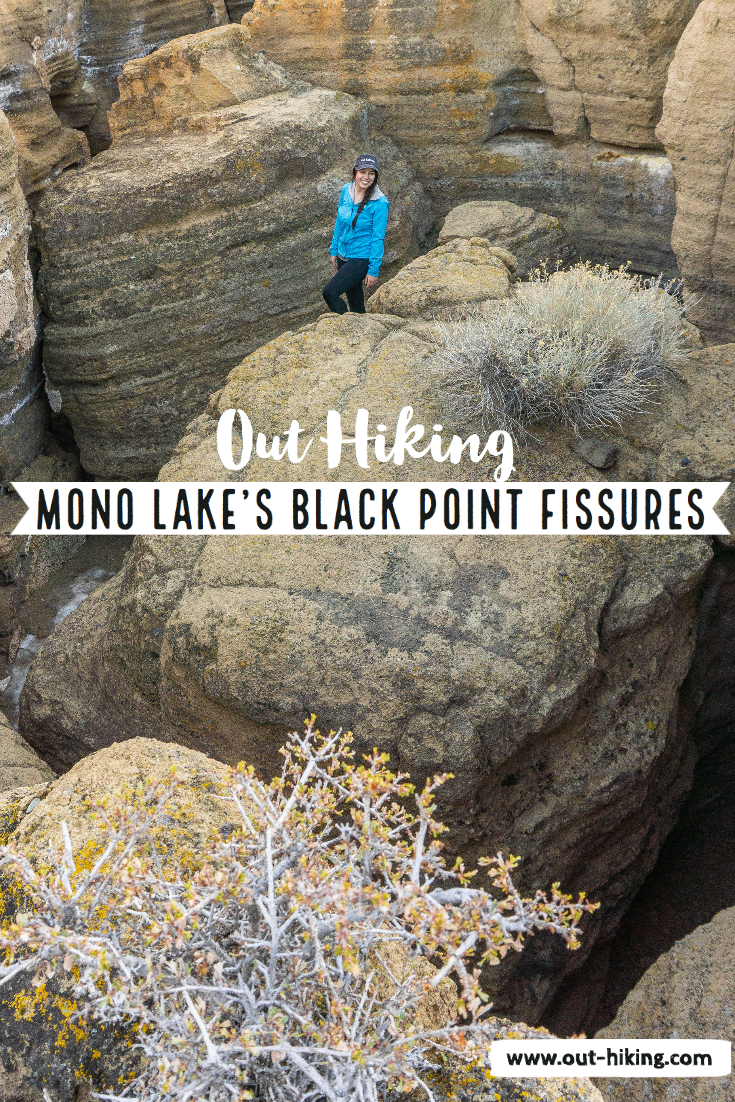
First set of fissures
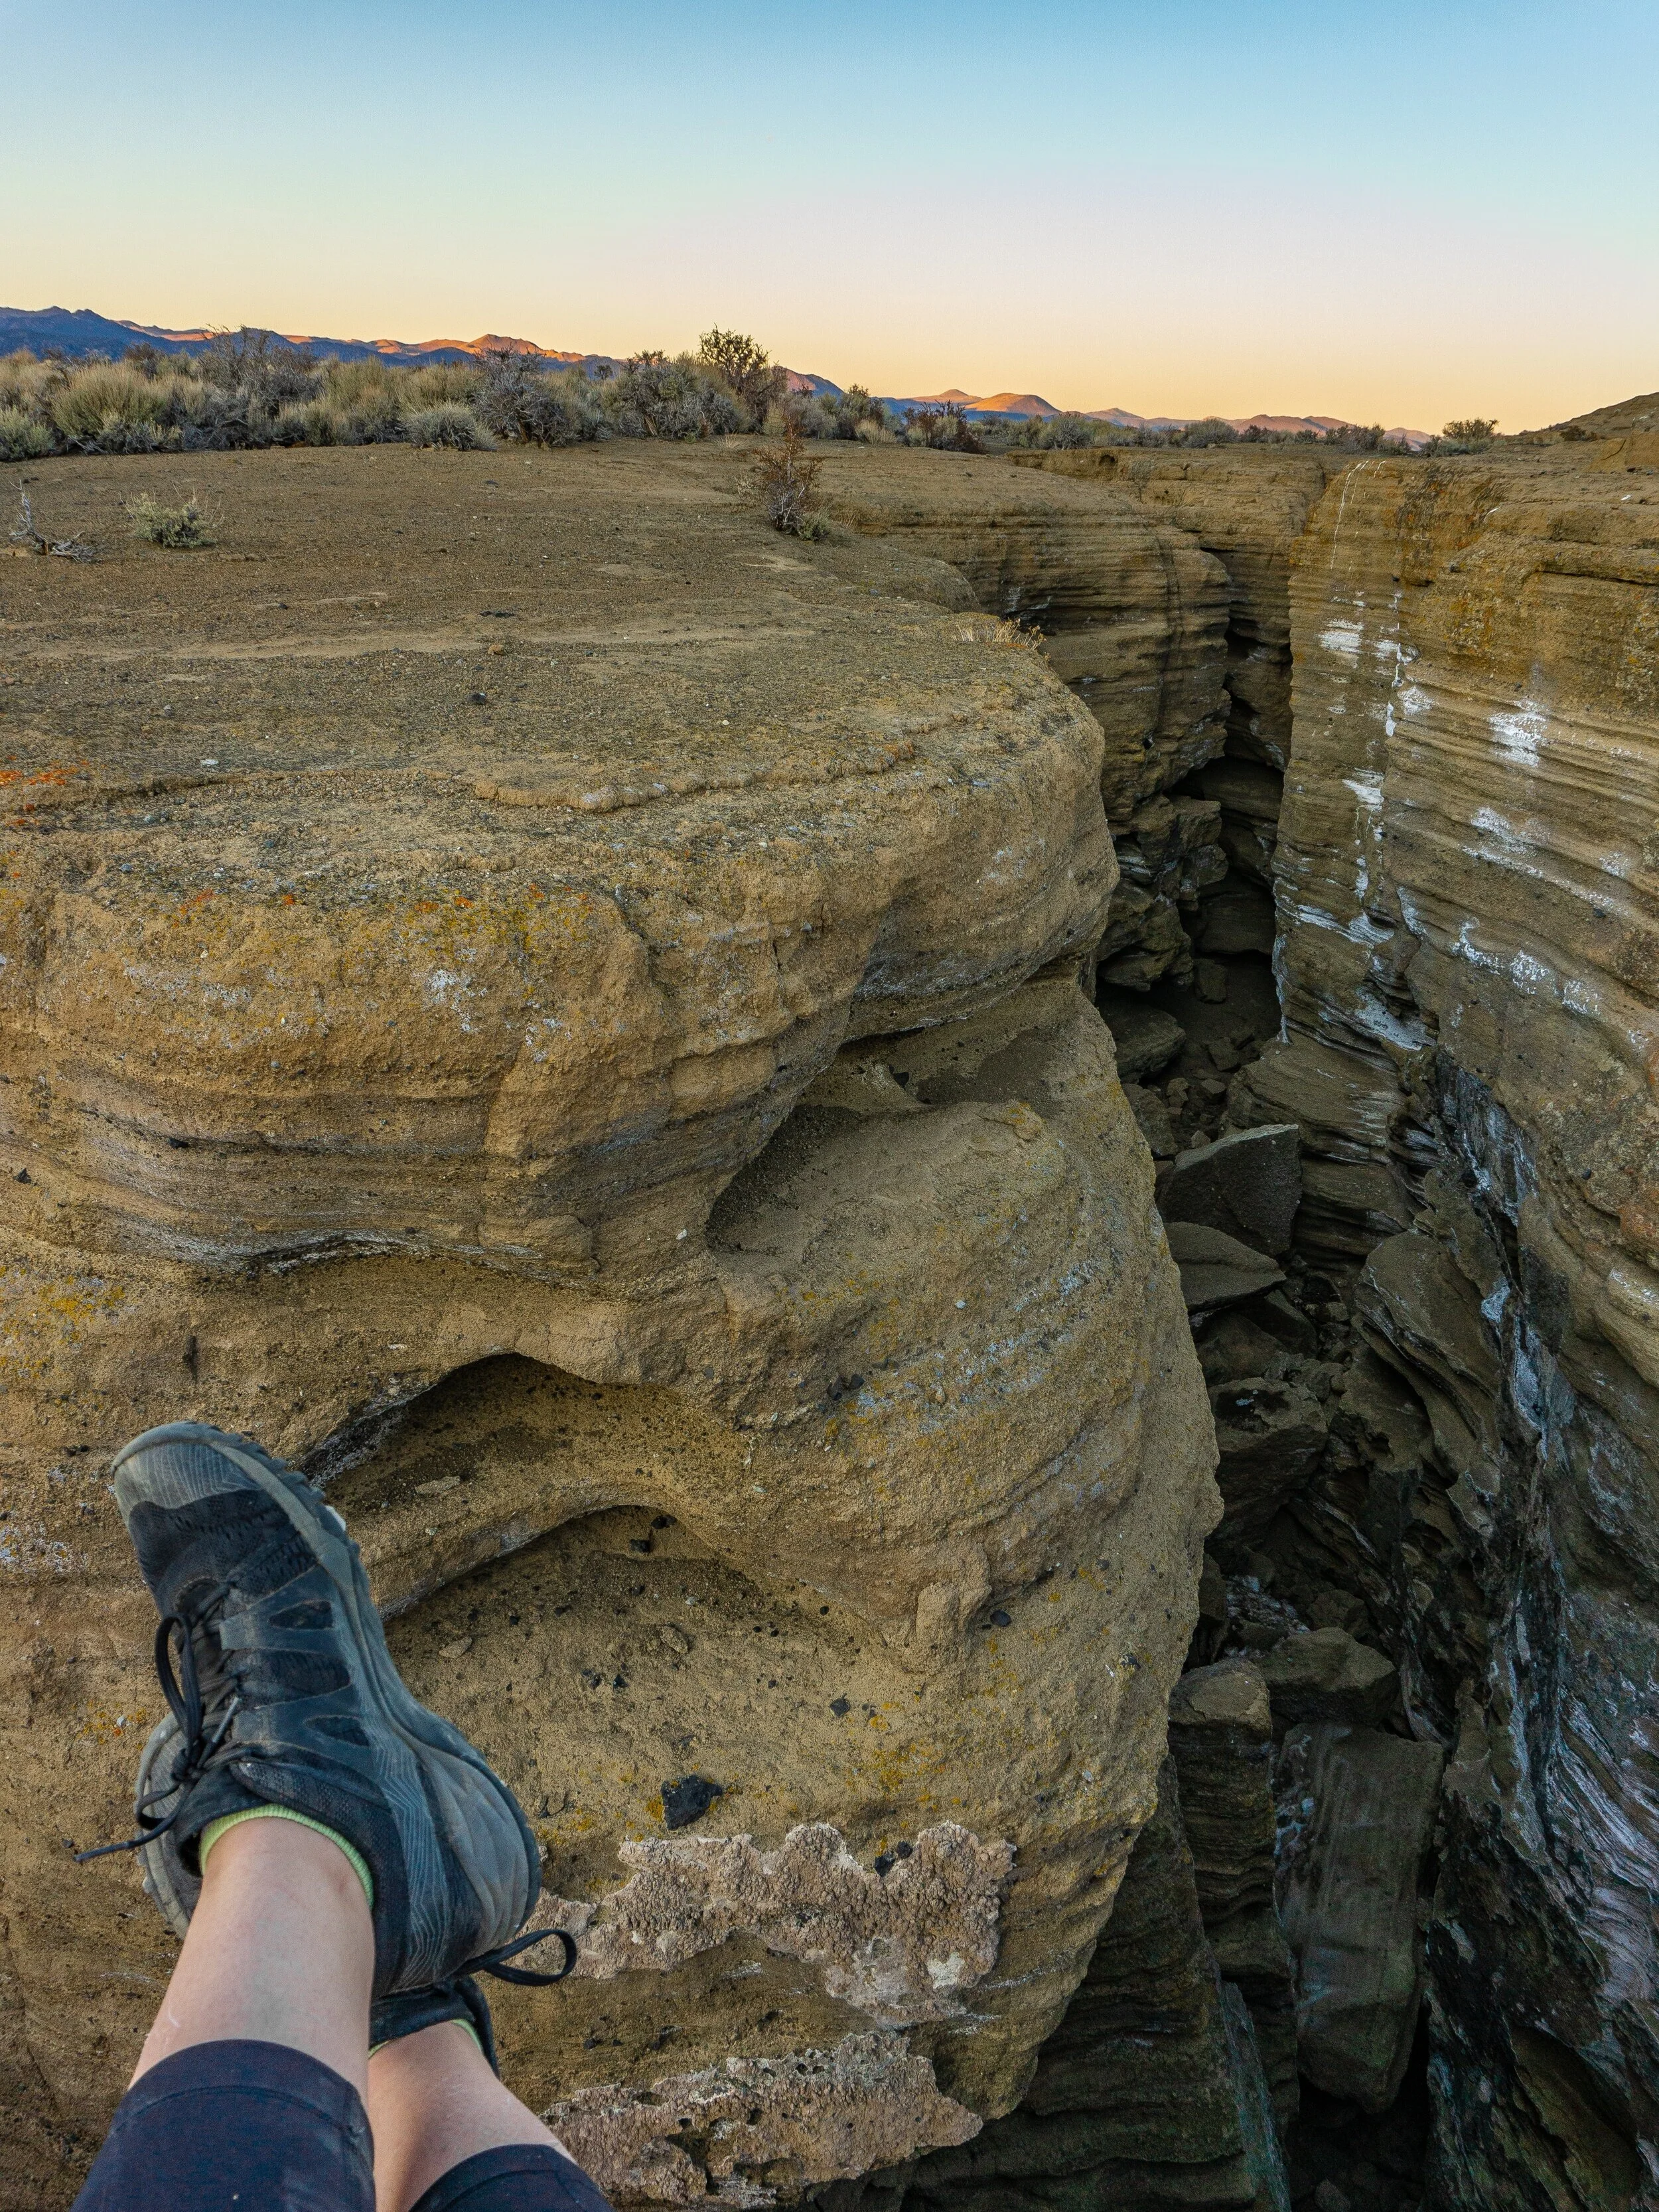
Once you reach the top of the mountain, you’ll head to the back side of the peak, that’s where you’ll find the fissures. You’ll be able to see them from the higher points of the mountain. Be careful when exploring the fissures as there is a lot of loose rock that can be slick and easy to slip on.


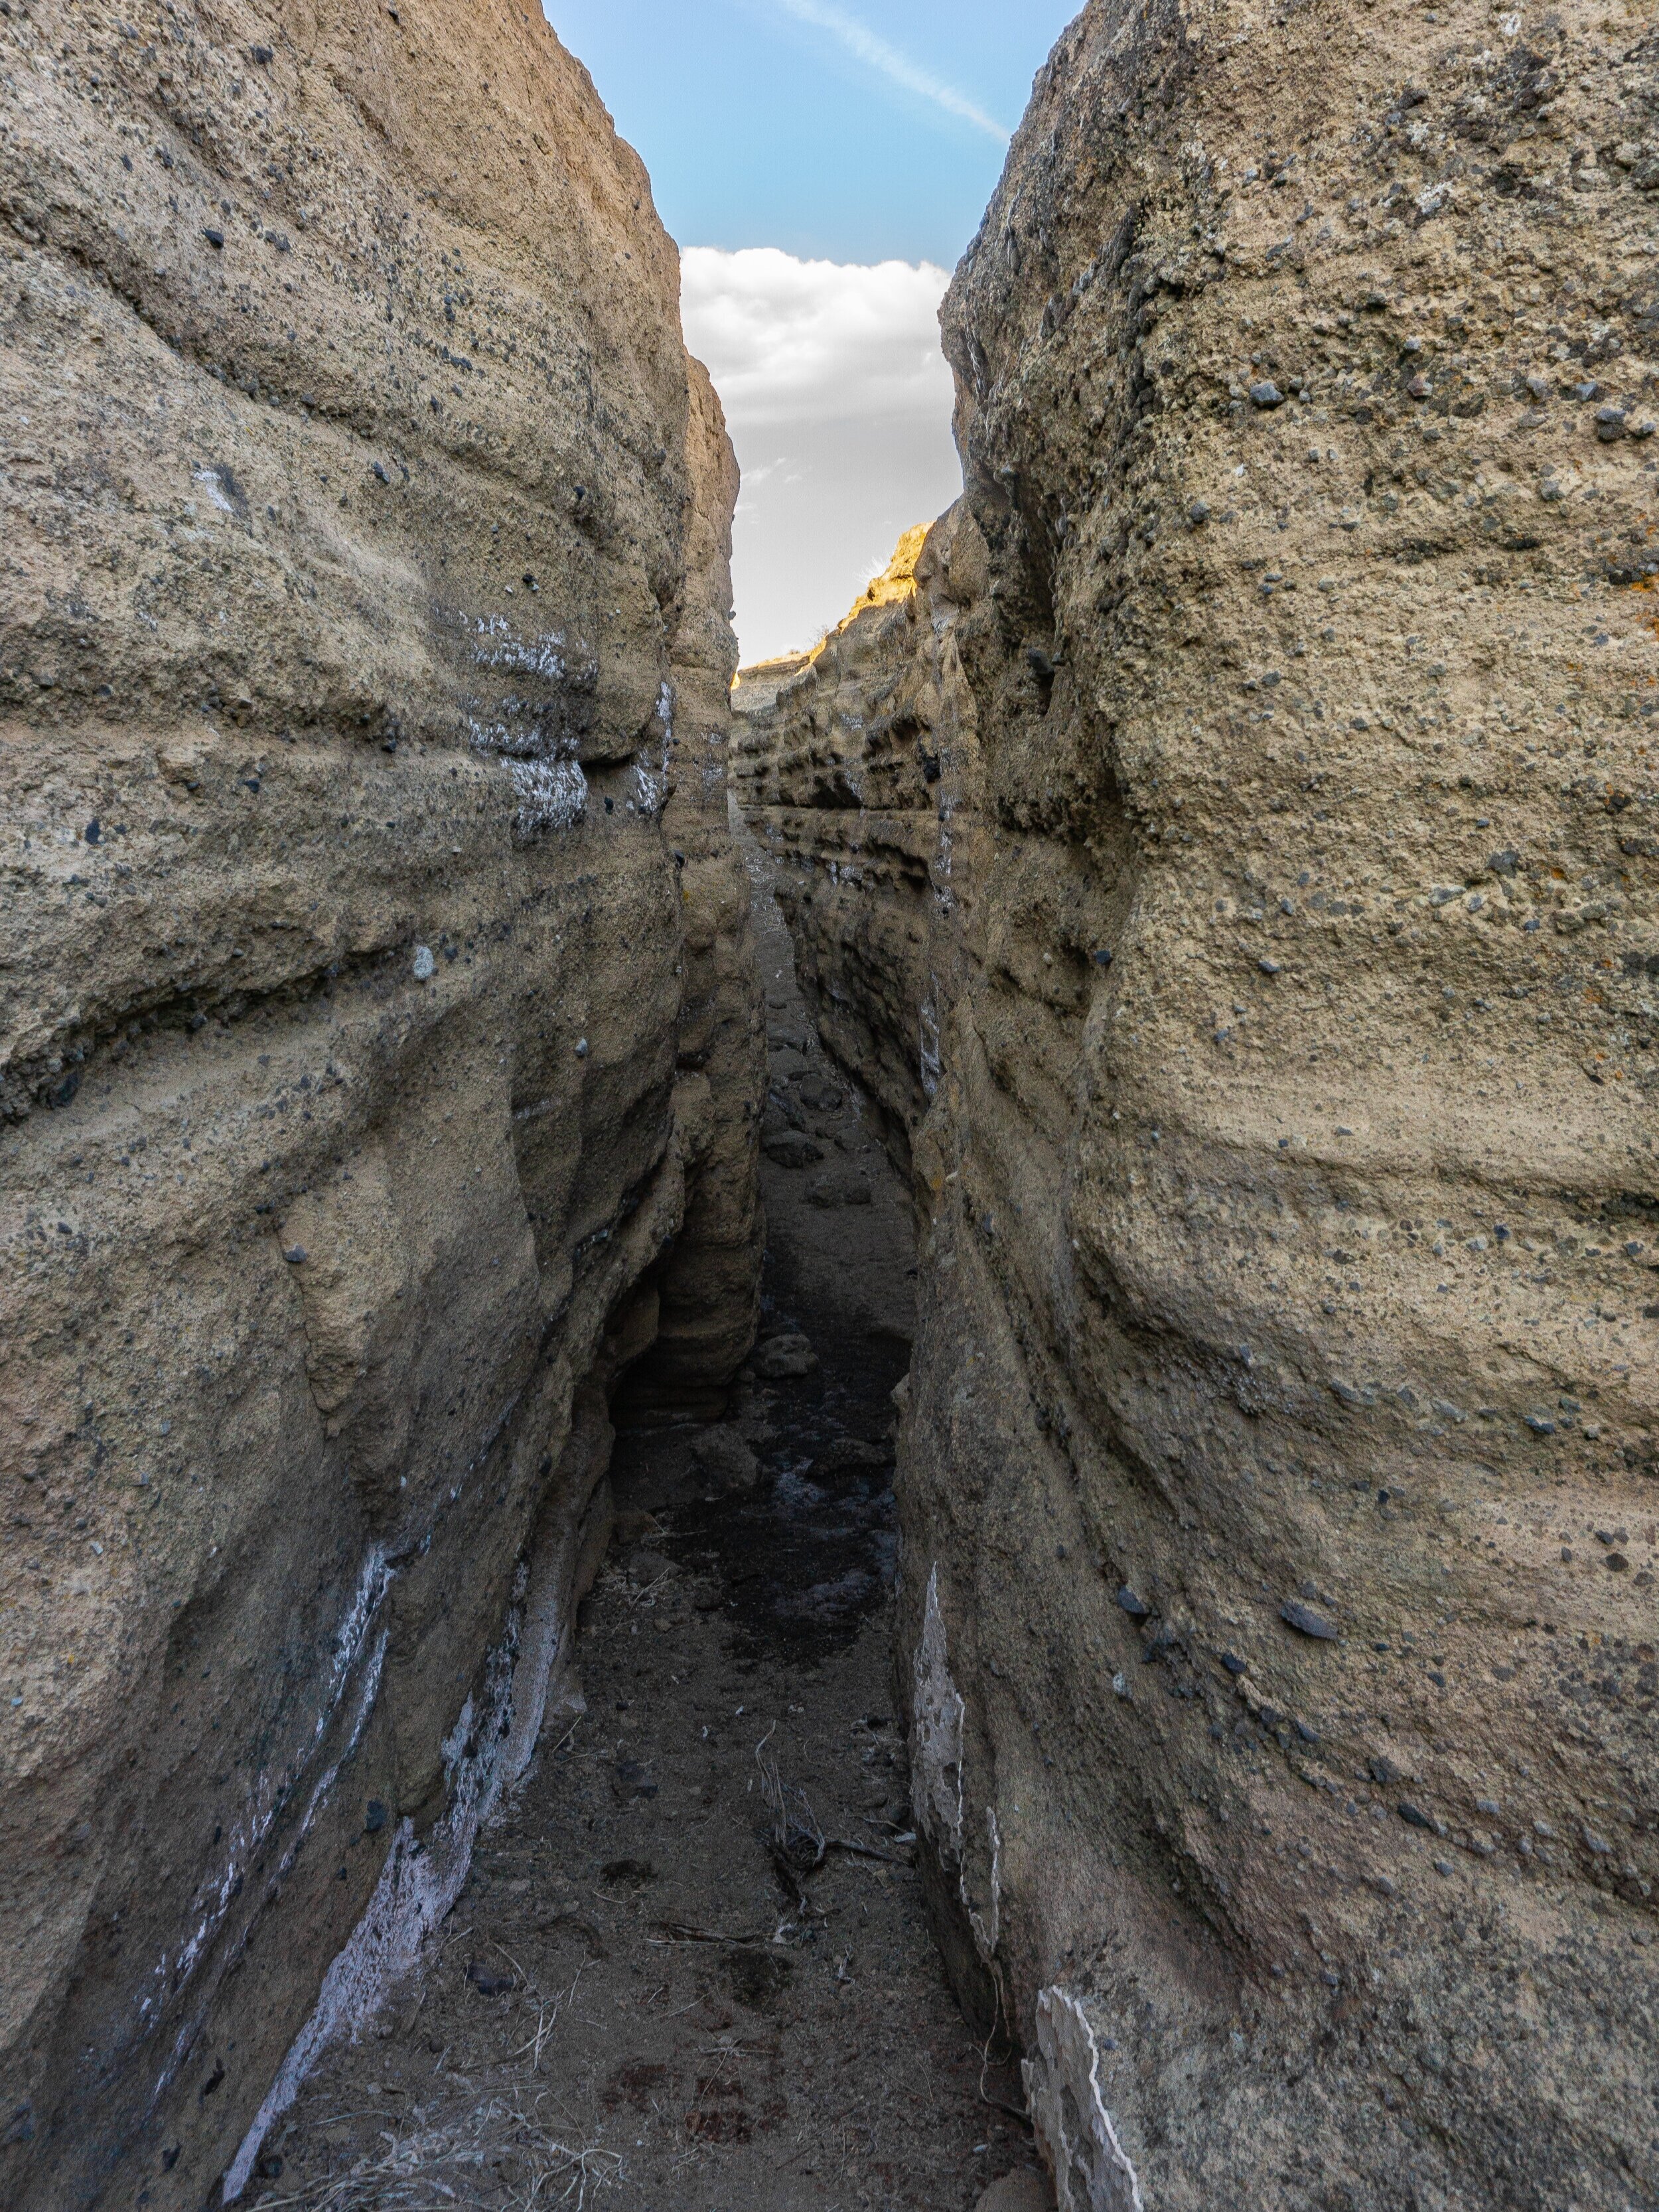
There are quite a few sections of the fissures, some spots you can hike through the slot-like canyon, whereas other parts I couldn’t find a safe way down and enjoyed them from above.
If you hike up in the afternoon, you will be treated to a beautiful sunset on the way down. Unfortunately, hiking down will lead to sand in your shoes, but odds are, you’ll probably already have sand in your shoes at this point. Happy Trails!
VIDEO OF MY ADVENTURE
PIN THIS for later!

Thanks for reading my latest adventure!

Tiare Kirkland
Hi! My name is Tiare, but you can just call me ‘T’. I’m a California based hiker and I spend most of my free time taking photos and videos of some of my favorite hikes. You can usually find me ‘Out Hiking’ in the Sierra Nevada mountain range or road-tripping to new areas. Read more about me here and follow along with my adventures by subscribing below!